Criss Cross Ridges Infinity Scarf - Free Crochet Pattern
The Criss Cross Ridges Infinity Scarf is a free crochet infinity scarf pattern featuring rich texture, a soft and squishy feel, and a quick, beginner-friendly stitch repeat. It's the perfect scarf for adding warmth and style to your wardrobe.

If you're looking for a cozy crochet project with plenty of texture, the Criss Cross Ridges Infinity Scarf is a great choice! This beginner-friendly pattern works up surprisingly quickly and creates a soft, squishy scarf that's perfect for layering on cooler days. The textured stitch pattern give the scarf an eye-catching look, but the pattern is easy to memorize, making it an enjoyable project whether you're crocheting while watching TV or taking it on the go.
Measuring approximately 60 inches in circumference, this infinity scarf is long enough to wrap comfortably around your neck twice for extra warmth. It's a wonderful accessory for those in-between seasons when you want something cozy without the bulk of a heavy winter scarf. Whether you're making one for yourself or as a thoughtful handmade gift, this scarf is both practical and stylish.
Choosing Yarn for your Criss Cross Infinity Scarf
I used Lion Brand Mandala Tweed yarn for my infinity scarf, and I love how the self-striping colors highlight the textured ridges throughout the scarf. Although Mandala Tweed has been discontinued, any of the Lion Brand Mandala yarns will work beautifully for this pattern and create a similarly eye-catching effect. Of course, this scarf is just as lovely crocheted in a solid color if you prefer a more classic look that lets the stitch texture take center stage.
Remember to like Loops and Love Crochet on Facebook and join the Loops and Love Crochet Group for sharing your finished projects! I'd also LOVE it if you followed @loopsandlovecrochet on Instagram! If you like crochet video tutorials, check out (and subscribe to) my Loops and Love Crochet YouTube Channel!
Save the Criss Cross Ridges Infinity Scarf for later by Pinning it to your favorite board!

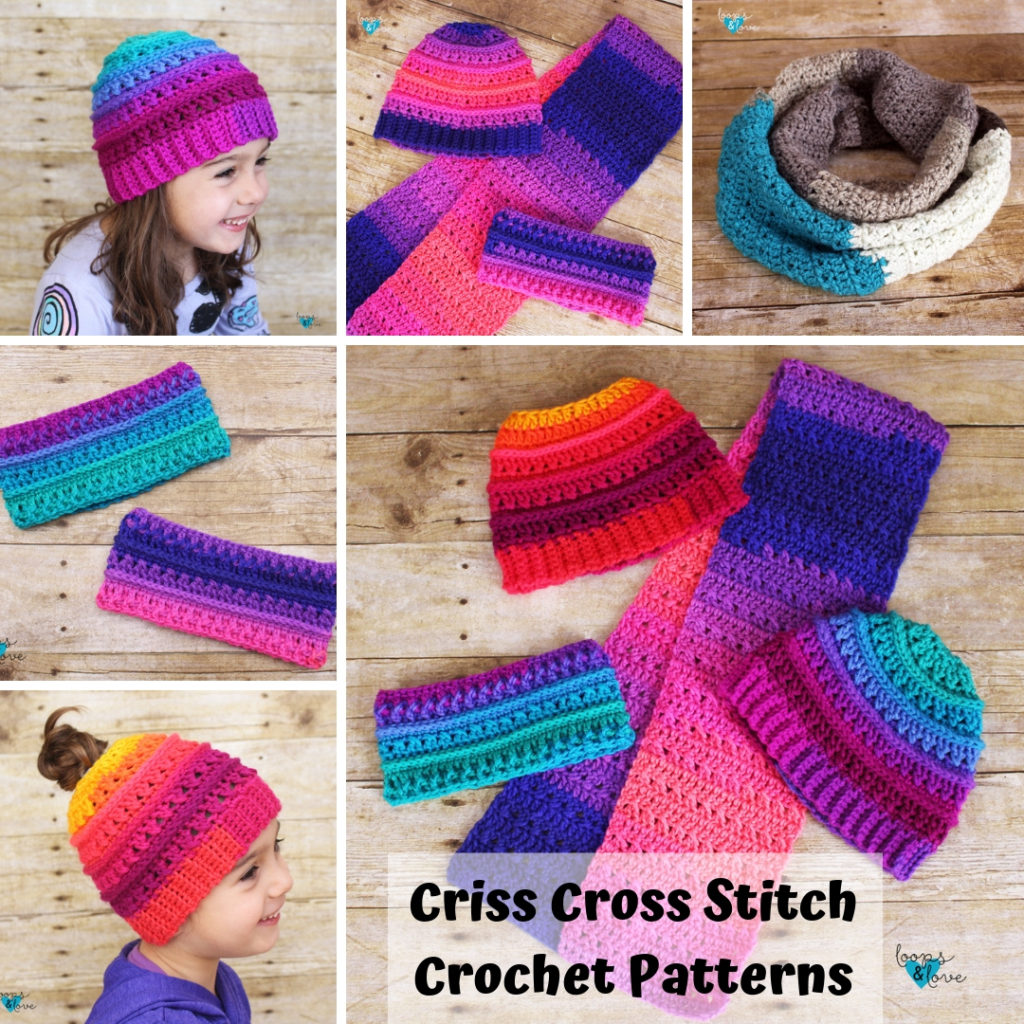
If you're loving the criss cross stitch just like I am, check out the rest of the Criss Cross Stitch Collection on the blog!
Disclosure: This post may contain affiliate links, which means I may receive a small commission if you click a link and purchase something that I have recommended. This is done at no extra cost to you. Thank you for supporting Loops & Love Crochet!
The Criss Cross Ridges Infinity Scarf crochet pattern is available for FREE on this website. If you'd like an ad-free, printable PDF version, you may purchase it for a small fee from my Etsy or Ravelry shops. Thank you so much for supporting Loops & Love Crochet!
Materials:
- Worsted weight yarn – Any #4 worsted-weight yarn can be used for this project. The infinity scarf pictured was worked up in a cake of Lion Brand Mandala Tweed yarn in the Seven colorway, however the “tweed” line of Lion Brand Mandala has been discontinued. One cake of Mandala yarn has 590/540m of yarn, and this scarf used about two thirds of it (approx. 400 yds). While this is a worsted weight yarn, I found that it runs a little on the “thicker” end of the worsted weight spectrum. If you are substituting other yarn, try to pick one that is comparable. If you go with a “lighter” worsted-weight, you may need to change hook size, double the yarn, or start with a longer chain/foundation to ensure you scarf will be long enough.
- 5.5 mm crochet hook
- Yarn needle (for weaving in ends)
- Scissors (for cutting yarn)
Stitches Used:
- Ch – chain
- Sl St – slip stitch
- DC – double crochet
- FPSC – front post single crochet
- FPDC – front post double crochet
- BPDC – back post double crochet
- FDC – foundation double crochet
Gauge
- Gauge is not imperative for this project to turn out, however, you can note that 2 inches in length is approximately ~7 DC stitches.
Finished Size
- When finished, this infinity scarf is approximately 60 inches long and 6 inches wide. See the important notes section below for details on changing the size of your scarf.
Important Notes:
- This pattern begins with foundation double crochet stitches. I have a tutorial on my YouTube channel if you’d like to learn how to make these stitches. You can find the link at the bottom of the “Important Notes” section. I find foundation double crochet stitches leave a nicer finished edge and are easier to keep the first row from twisting when you join it. However, as an alternative, you can easily begin with a starting chain.
- The starting chain or foundation might seem quite long at first, but when you work the first couple of rounds, you’ll notice it shrinks up a bit. It’ll still have some stretch in it when it’s done though!
- Always start the first stitch of the row/round in the same stitch as the join and chain 1.
- Chain stitches at the start/end of each round do not count towards stitch count.
- After the starting chain/foundation, this pattern is worked in joining rounds. When you finish the stitches of one round, join to the first stitch of the round with a slip stitch, and then chain 1 (or 2).
- To change the length of this scarf, you can alter the length of your starting chain or foundation. Be sure that your stitch count for the starting chain or foundation is an EVEN number of stitches in order for the criss cross stitches work out correctly. You can also change the width of the scarf by changing the number of times you repeat the stitch pattern.
- I have a photo tutorial section at the end of the pattern to help with the instructions and stitches. I hope you find these photos helpful!
- Here are a couple of video tutorials on my YouTube channel that might be helpful while working this pattern.

Make Your Own Criss Cross Ridges Infinity Scarf - The Pattern
Row/Round 1: FDC 190, sl st join to the top of the first FDC stitch, ch 2 (190).
Make sure you keep the “right side” (front side) of the work facing out and be careful not to twit the chain.
*There will be a gap at the bottom where the band is not connected (see photo tutorial). You can use your yarn needle to sew it together now, or leave it until the end.
*If you prefer to begin with a starting chain rather than with foundation stitches, the instructions are: Ch 192, DC in 3rd ch from hook and in each ch across, join to top of first DC with a sl st, ch 2. (190)
Round 2: FPDC around first st, BPDC around next st, continue around, alternating between FPDC and BPDC. Join to top of first FPDC st, ch 2. (190)
Round 3: Alternate FPDC and BPDC sts around. Be sure you are matching your FPDC and BPDC stitches from the previous round. Work a FPDC around each FPDC from the previous round and a BPDC around each BPDC of the previous round. Join to top of first FPDC st, ch 1. (190)
Round 4: SC in each st around, join, ch 1. (190)
Round 5: FPSC in each st around. Make sure you go around each of the stitches from the previous round, even the last one that can be hard to get into sometimes. Join with a slip stitch to first FPSC. Then slip stitch back to the first SC of the previous round (this is the stitch right behind the first slip stitch. It will be right beside your join from the previous round and is sometimes a bit tricky to get in to). See photo tutorial. This is so your next round is not worked in the post stitches. Ch 1. (190)
Round 6: SC in each st around. Make sure you are not working in the post stitches. Your SC stitches should be going into the round before the FPSC round (these are the stitches behind the FPSC stitches). Join, ch 2. (190)
Round 7: Work criss-cross DC sts around: Skip first st, DC in second st. Go back and DC in skipped st (see photo tutorial below), continue around, join, ch 1. (190)
Round 8: SC in each st around, join, ch 1. (190)
Round 9: FPSC in each st around, join with a sl st to first FPSC, then sl st back to the first SC of the previous round, ch 1. (190)
Round 10: SC in each st around. Make sure you are not working in the post stitches. Your SC stitches should be going into the round before the FPSC round (these are the stitches behind the FPSC stitches). Join, chain 2.
Round 11: Work criss-cross DC sts around (skip first st, DC in second st, go back and DC in skipped st, repeat around). See photo tutorial below. Join, chain 1. (190)
Round 12: SC in each st around, join, ch 1. (190)
Round 13: FPSC in each st around, join with a slip stitch to first FPSC, then slip stitch back to the first SC of the previous round, ch 1. (190)
Round 14: SC in each st around. Make sure you are not working in the post stitches. Your SC stitches should be going into the round before the FPSC round (these are the stitches behind the FPSC stitches). Join, ch 2.
Round 15: Work criss-cross DC sts around (skip first st, DC in second st, go back and DC in skipped st, repeat around). See photo tutorial below. Join, ch 1. (190)
Round 16: SC in each st around, join, ch 1. (190)
Round 17: FPSC in each st around, join with a sl st to first FPSC, then sl st back to the first SC of the previous round, Ch 2. (190)
Round 18: DC in each st around. Make sure you are not working in the post stitches. Your DC sts should be going into the round before the FPSC round (these are the stitches behind the FPSC stitches). Join, ch 2. (190)
Round 19: FPDC around first st, BPDC around next st. Continue alternating FPDC and BPDC around, join to top of first FPDC st, Ch 2. (190)
Round 20: Alternate FPDC and BPDC sts around. Be sure you are matching your FPDC and BPDC sts from the previous round. Work a FPDC around each FPDC from the previous round and a BPDC around each BPDC of the previous round, join to top of first FPDC st. (190)
Fasten off. Weave in ends and cut yarn. If you did not sew together the bottom of the infinity scarf where you joined the foundation or starting chain, you can do that now too, weave in those ends, and cut your yarn.
That’s it! You’re all done!! I hope you love this beautiful scarf that you just made!

*NOTE – Because the stitch texture and detail is on the one side of this scarf, I found that if you are going to wrap the scarf twice, the beautiful texture and stitches show up nicely if you start by putting the scarf on with the textured side on the inside (facing you) so that when you wrap it, the texture and fun stitches are visible on the outside.
Photo Tutorial


*You may make and sell any items made from my patterns, but please link back to my blog or Loops & Love Crochet as the designer. Please do not copy this pattern or photos and share as your own, in part or in whole. Instead, link back to the Loops and Love Crochet blog (especially when selling items you make from my patterns). Thank you!
**Want to be kept in the loop? Be sure to like Loops and Love Crochet on Facebook and join the Loops and Love Crochet Group! Don't forget to follow @loopsandlovecrochet on Instagram!**